Blogs

New nose for old Dremel tool
While using my Dremel Tool model 370 as a router, I misplaced the "Housing Cap Screw" --- ok, I lost it --- that screws onto the nose of the tool. Emails to Dremel about a replacement part went unanswered. Time to see if I could make one.
The nose is threaded 3/4" x 16 tpi. A trip to the local hardware store yielded a 3/4x16 hex nut for a little more than a dollar. I spent a little time with a lathe and now the Dremel has a shiny nose.

Old Bay District | A layout big on craftsman kits and scenery.
Hopefully I am not posting too much... To that one guy on Facebook sorry, I'll only post a few videos.
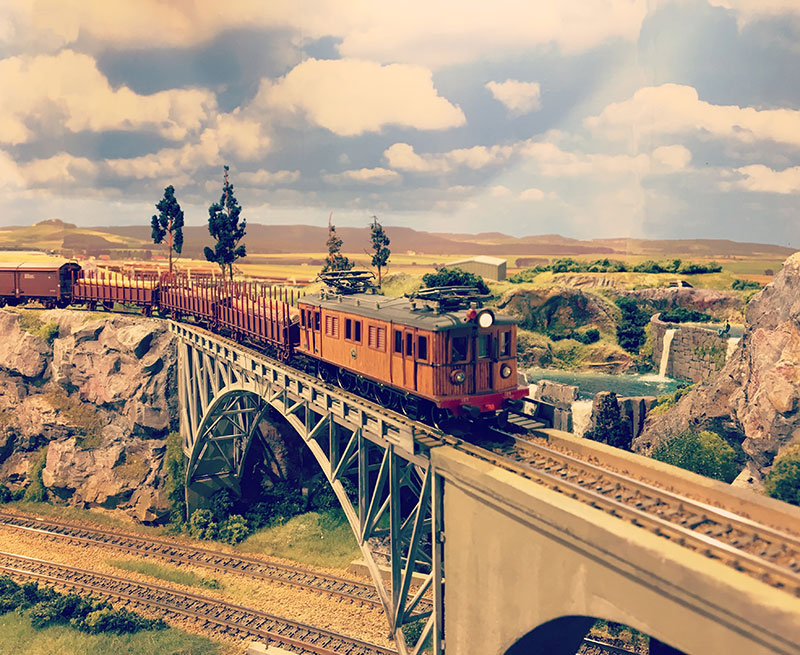
This year I built two kits I had sitting in my kit cache. Both were high end craftsman kits from different eras. The first, as seen in another topic titled Shipyard at Foss, was built very similar to the kit design. This kit will be planned out from the ground up, literally.
In video one we talk about the design and how it will fit into the broader scene of two dioramas joined as one.


Hello and Welcome!
This is my first blog post since subscribing to MRH and let me just say, it's good to subscribe to such a well made magazine. The fact that it's free only makes it better.
Anyways, I thought I'd say a few words about myself and my joys in this hobby.
Besides trains, I enjoy photography, travel, geography, and history. Within the realm of model trains, there are a few areas of special interest to me:
Backwoods modeling
Shortline and Regional railroads
Steam era
Current era (2000 onwards)

Freight House
I am seldom intimidated by a project. Ever since I took apart my first alarm clock as a child, I have jumped into practically anything with confidence (or chutzpah) and enthusiasm. I've had the occasional setback (I remember blowing a fuse amid smoke and sparks while demonstrating electromagnetism in 5th grade, and at my retirement recital one of my favorite contraptions went seriously cracker dog), but most everything eventually worked reasonably well.
Then I acquired this kit in 2013:
HO Scale Jelsma RR Boxcar.

To All: Denny Jelsma of Jacksonville, Florida contributed his model railroad decal so I could do a car representing his pike. I used Railgraphics data sheet decals for the capacity data and dimensional data, etc. to finish the lettering. I followed by weathering with Bragdon Weathering Powders. I will run this HO scale Train Miniatures car on my layout. Photo by Elvin Howland. Yours, Elvin Howland/E. St. Louis Rail Group Layout.
Let there be light!
Only working a few days over Christmas has given me time to do some further work on the layout. Getting up at my usual time in the morning (too early) gives me time to do some work on the layout before anyone else in the house is awake. After getting the staging yard throat to my liking, along with getting the routing set up properly, let me work on some other needed things.


Christmas Benchwork
The week before Christmas, and the days right after found a great deal of time to make a concentrated effort on completing a majority of the benchwork on the railroad. We implemented a few new techniques on the upper levels and found these to be very effective. Next up, all the Masonite: spline, fascia, and backdrops. Details in following posts
Fixing a k-line hopper car
this is what was on my workbench yesterday.
I had a K-line Hopper car with a broken door that I fixed with some really fine cardboard, painted it black, hot glued in place and then put some coal in in the hopper car.
Note
Just got four of them.
Pictures here http://ogrforum.ogaugerr.com/topic/fixing-a-k-line-hopper-car
>> Posts index
Navigation
Journals/Blogs
Recent Blog posts: