Blogs

Narrowing Your Modeling Era to One Season/Year
For a while now, the tagline of my Valley Local layout project has been "Modeling the New Haven Railroad's Connecticut Valley lines, c. Autumn, 1947 (or 1948, or '49)" and that's done a good job of conveying the layout's locale, as well as the season (neither of which are easily changeable). But the chosen year hasn't been chosen with any real finality... until now.

A switchman for a caboose
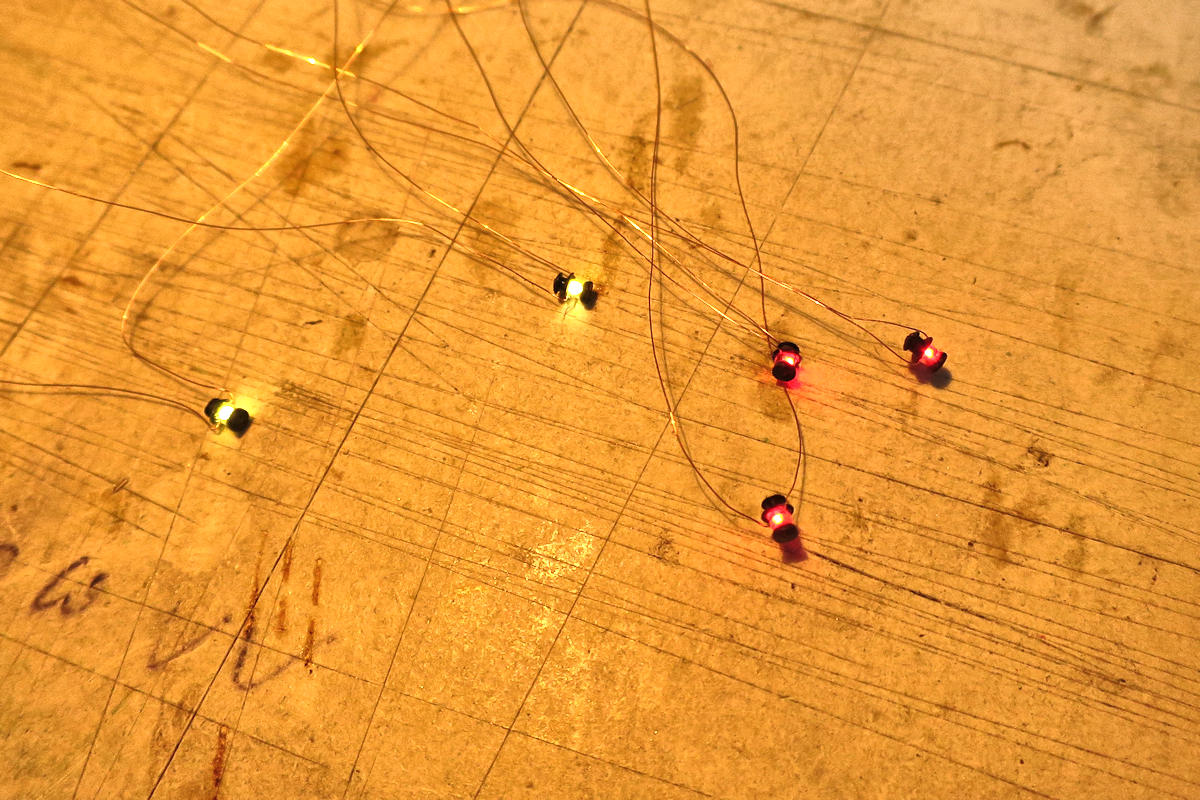
There was a bit time so I started a small project for an future addition on a caboose which will be prepared for use with an SP loco model. This caboose should receive a switch man with an illuminated lantern who should receive his place on the platform steps of this caboose.

New shelf layout benchwork
First ever blog entry! Thought I'd share since its using steel stud and track, a method that occasionally comes up but I haven't seen it much used for a shelf layout. Generally the details of construction are pretty thin in discussions too.
Just to set the stage. This will be my second layout since getting back into the hobby as an adult. The first was last year; a typical 4x8' double track roundy round with a small yard and a couple industry spurs.

NMRA AR operating sessions
Division six (South Australia) of the NMRA Australasian region will be holding the NMRA AR annual convention for the first time this year. The convention will be held in the Torrens Valley Christian school in the Adelaide suburb of Hope Valley on 16th and 17th of September.

Mascoutin Valley Railroad - Its a simple kind of plan
I was putzing around this evening and took my track plan and put in a digital format! It follows my system map pretty close. Ore Trains will flow from Iron Mountain, MI to Barnaby Mine and back, and other traffic will flow from staging in Crandon, WI to Iron Mountain, MI or run a turn job at the mill in Florence.
The aisle ways range from 36 to 48 inches. And the layout is designed to tie into Free-Mo Modules!

Seaside Carnival OBD 2
It all starts somewhere. And this time it starts with a kit that I am ill prepared to build. I have very little experience with plastic kits and this is not really the kit I should start with. But I will.
I imagine this kit will take months for me to build. As it stands, it looks like I will have to paint and weather 1200+ parts. That is part of the fun though. Gives me something to do while I put OBD 1 aside for awhile to reset some plans. Two more videos are in cue for OBD 1, I have a problem scheduling videos, Hate to have them private, I'm weird, I know.

SNE - Foam Core is down
I have now laid out all of the foam core. It all fits very nicely and very tightly. It is 80mm high to accommodate the DCC Concepts point motors.
>> Posts index
Navigation
Journals/Blogs
Recent Blog posts:

