Page 3
At the start of the roundhouse project when I started to cast the first walls that are going to be used for building the master pattern for the roundhouse walls I discovered I was going to need something to remove bubbles from the castings. A member on another forum made a good suggestion that I build a vibrating casting table. I did as he suggested and searched the Tube. Found some interesting setups. I took the idea of one I liked and modified it to the size I needed.
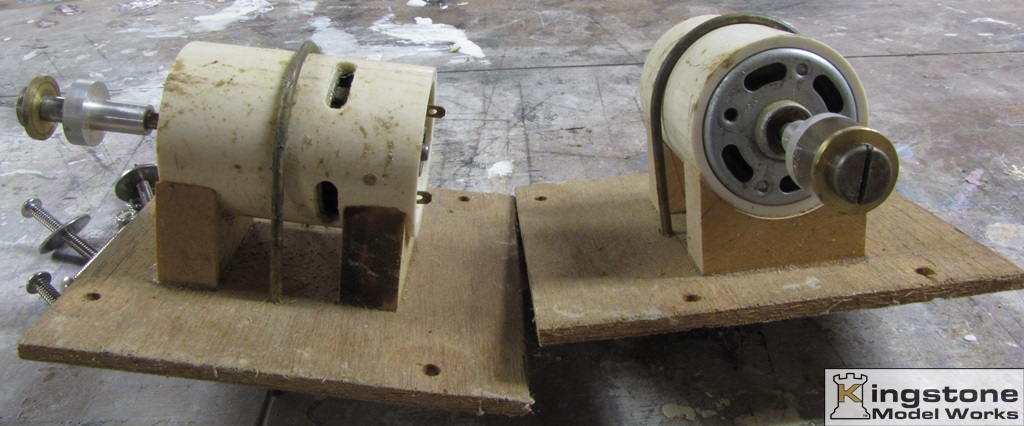
So, let’s get started. First you'll need a motor that will vibrate when something on the shaft is offset from center. I had the perfect motors. Back many years ago I got very interested in building model air boats. Both gas powered and electric powered. I started to build an electric one to retrieve the gas powered one when the engine quit. I didn't get too far before I lost interest and went back to model railroading. Anyway I had started to build the electric powered one with twin 12 volt electric motors. I got as far as building a frame work to mount the motors and two pontoons to support the batteries and motors. The first picture shows what's left.

The motors are out of one of those little plastic cars that kids first learn how to drive with. They have two motors a bunch of plastic gears, a charger and two 6 volt batteries. I think this is how they get two speeds out of the vehicle. I happen to be two driveways up from the towns transfer station. The guy that is there on duty is my neighbor and allows me to bring back any purchase I don't deem useable. The motors are quite powerful and run at a fairly high rpm.
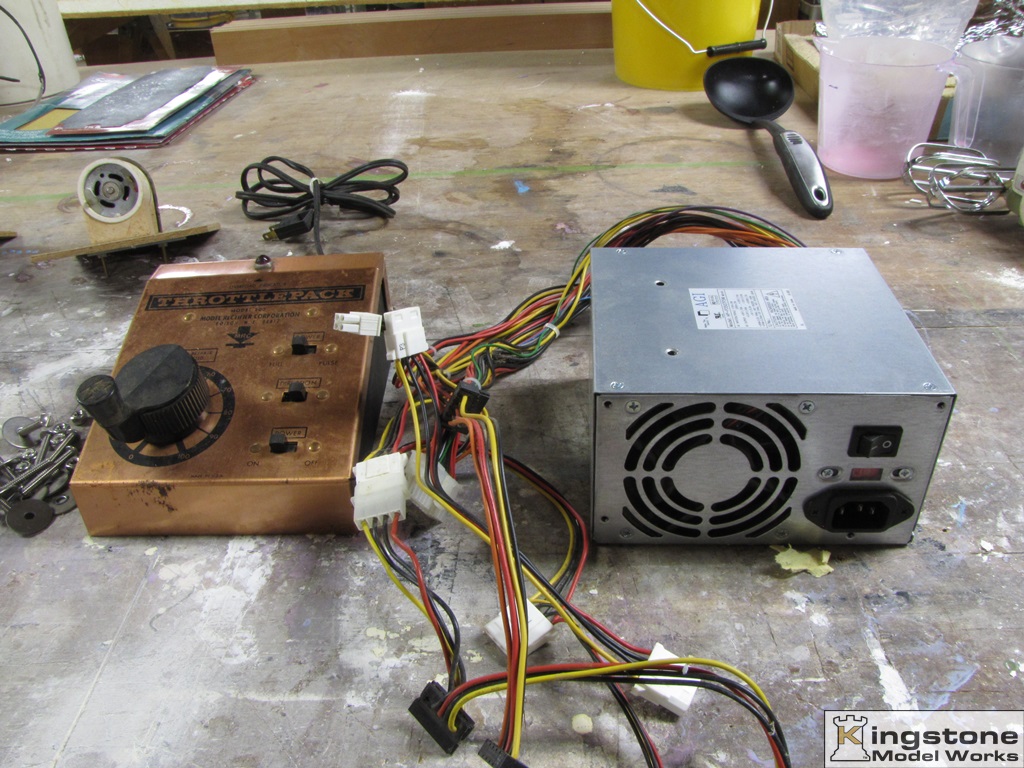
Before mounting the motor to the table I needed to find a power supply. The computer power supply didn't like the motor at all. It would start but the power supply would shut down. One of two things happening here, either too much amperage being pulled or the motor is way too noisy (electrical spikes back feeding into the supply). The old train transformer worked okay but would pop the circuit breaker. I lubed up the bearings a bit and the supply seems to be able to handle the motor at around 9 to 10 volts.
When I had built the motor pods I used some PVC piping I bored out to the motors outer diameter. The motor is a tight slip fit. I did that so I could pull the motor out without having to unscrew it from the frame. Also the hold down band didn't squeeze on the OD of the motor.
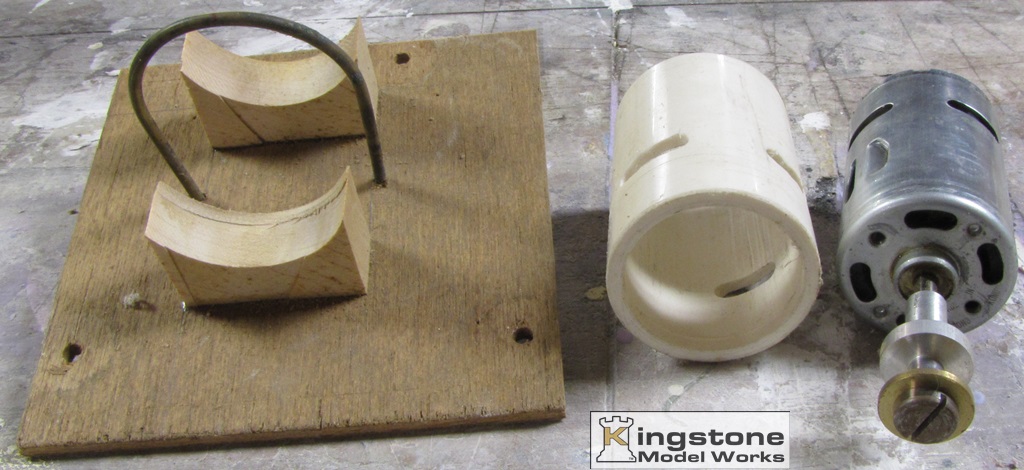
In order to get a vibration out of the motor I took one of the blades and dismembered it.
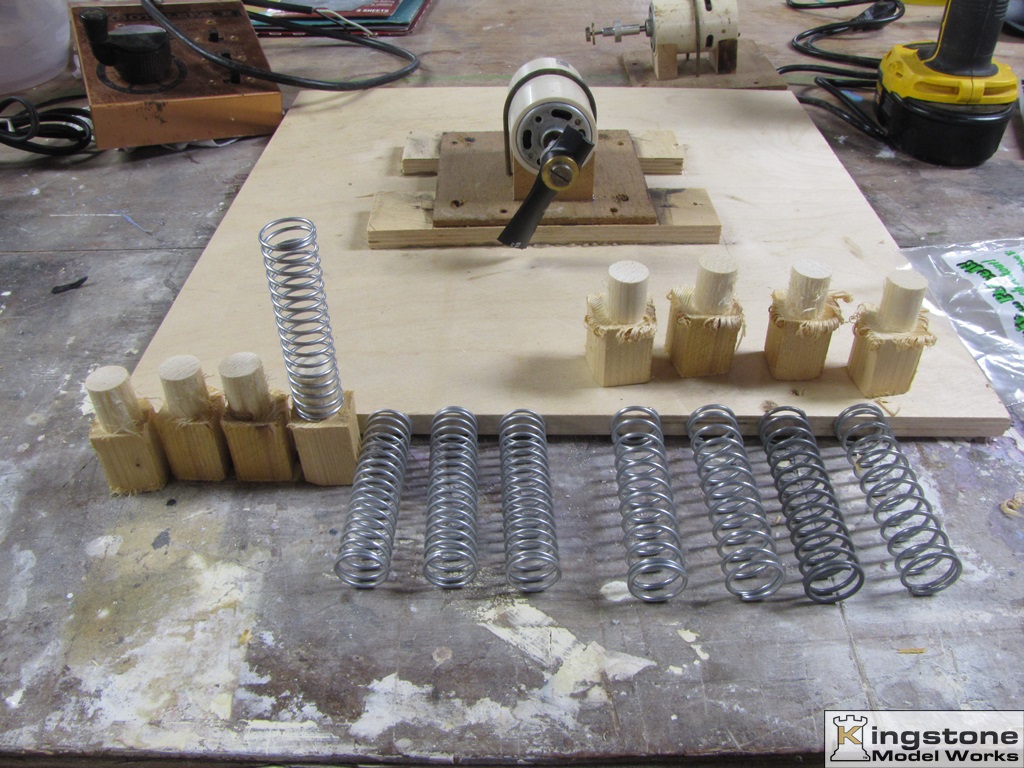
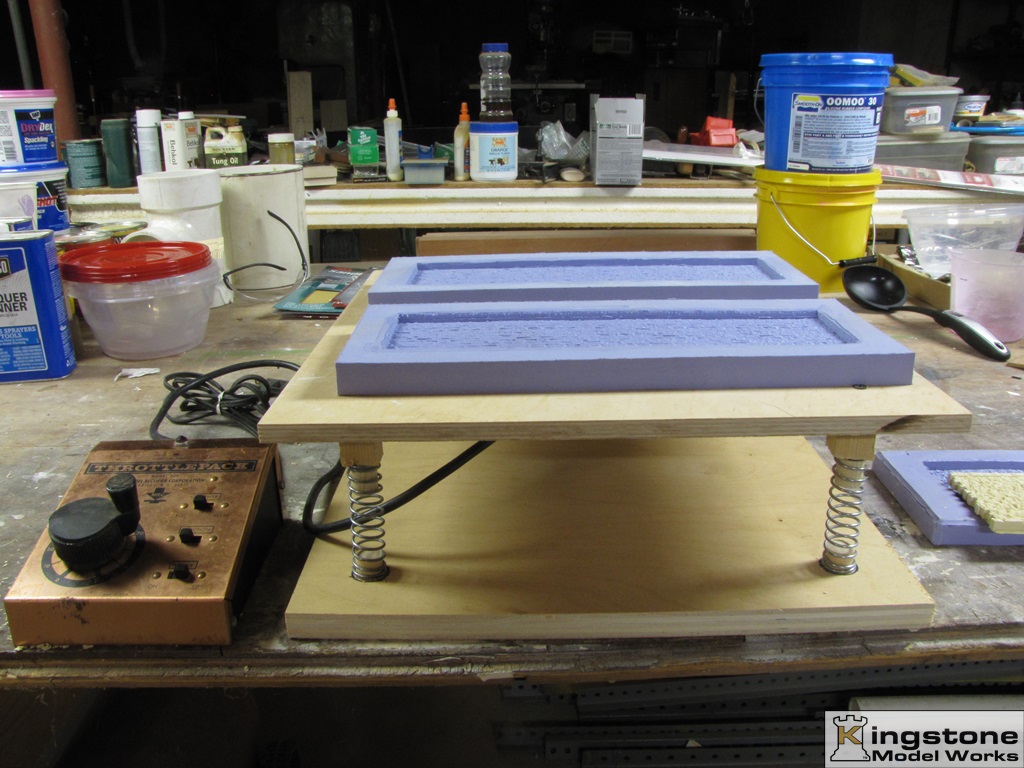
The motor was mounted on one to the plates. I purchased two sets of four springs that I thought would work. The set on the right have a larger diameter wire to make the spring a bit sturdier. I turned four pieces of square wood to the ID of the springs for a snug fit. At this stage of the project I couldn't find the dowel I knew I had hid somewhere.
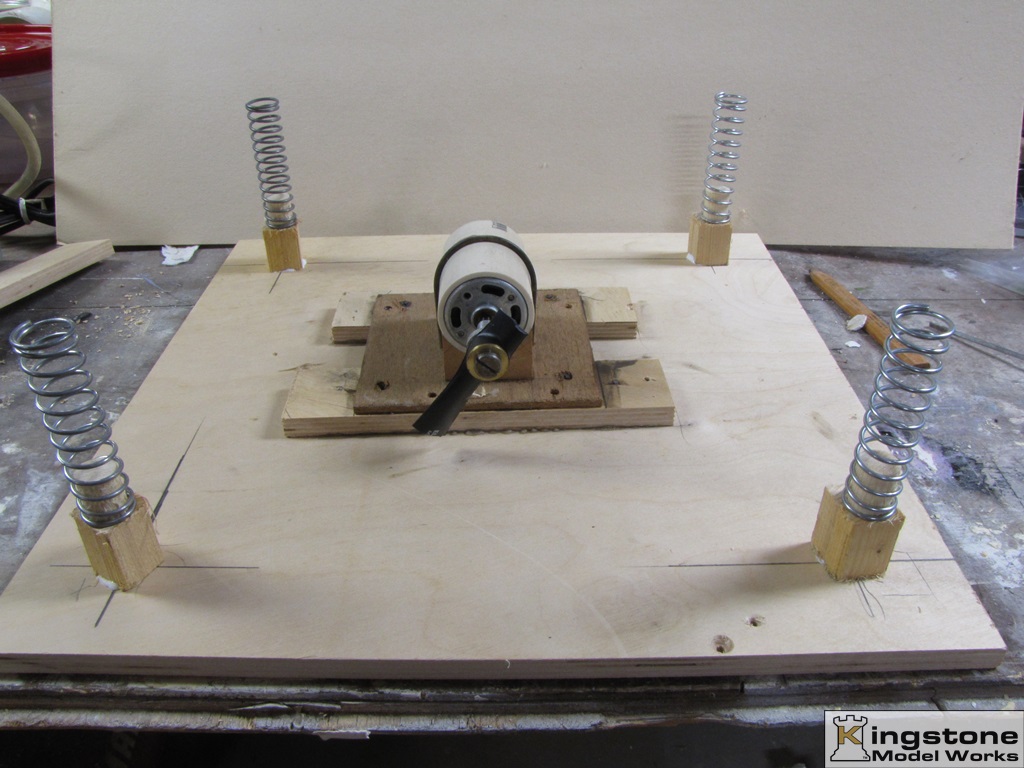
The turned pieces were glued and screw to the bottom of the table.
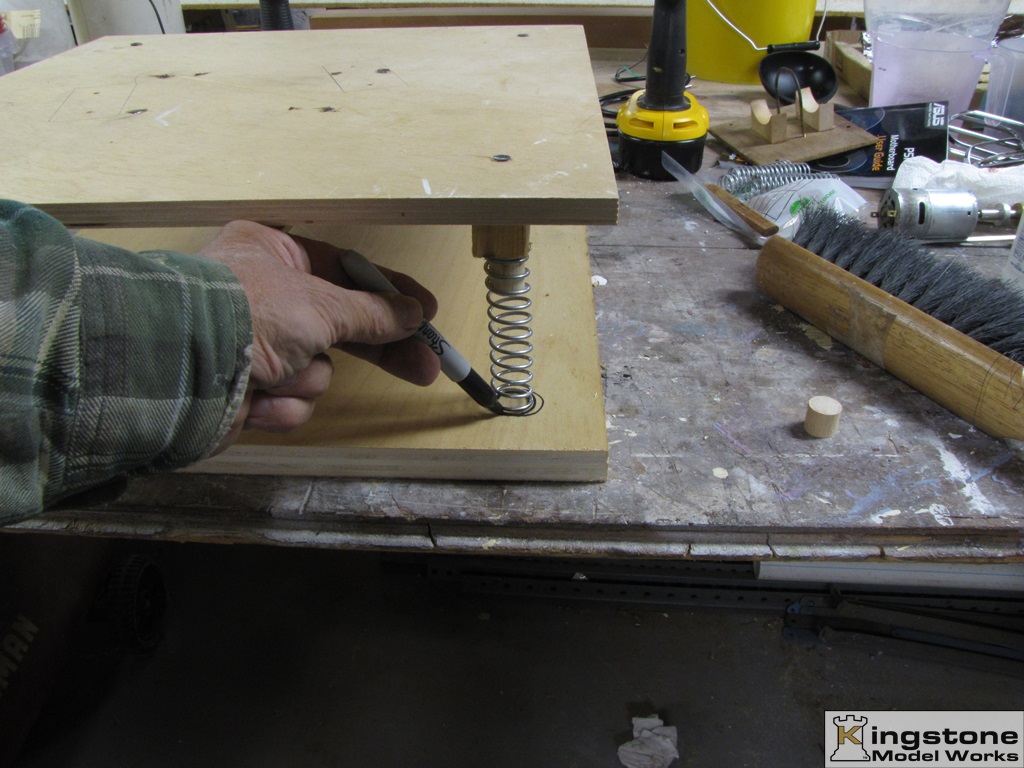
By the time I got around to doing the bottom part of the vibrating table I had found my dowel. Here I'm marking where the round dowels will get glued to. I was going to drill a pilot hole and screw the dowels down but found it wouldn't be necessary.
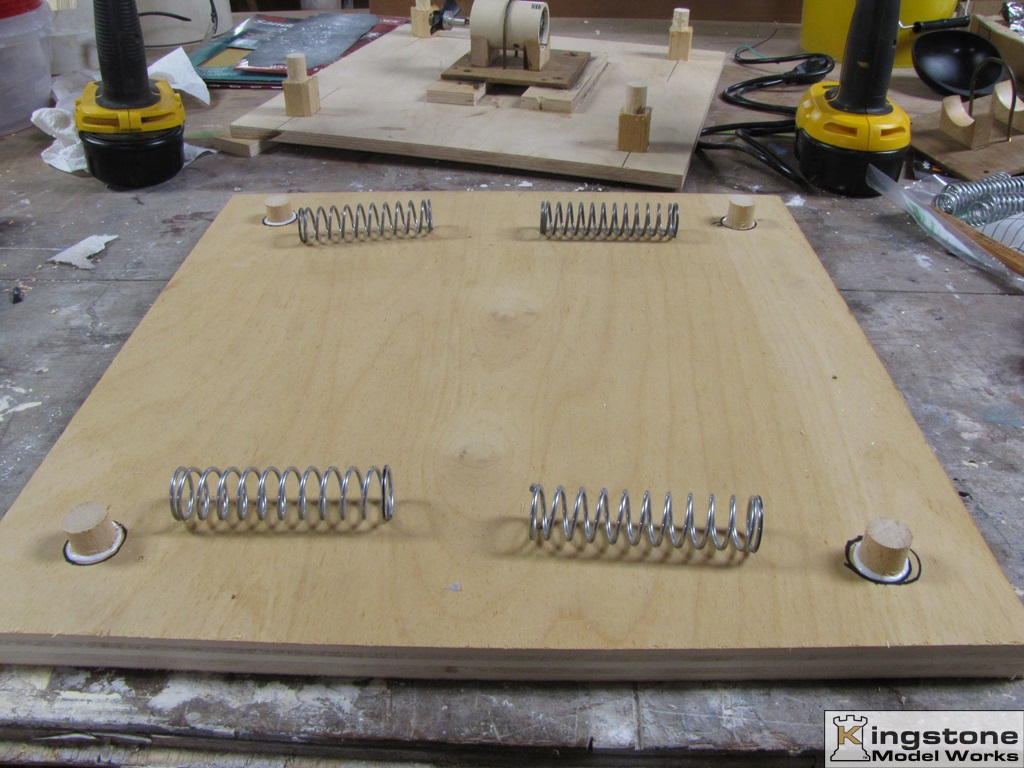
I just glued them on with white carpenters glue. Waiting for the glue to dry so I can take the table for spin.....ah vibrate.
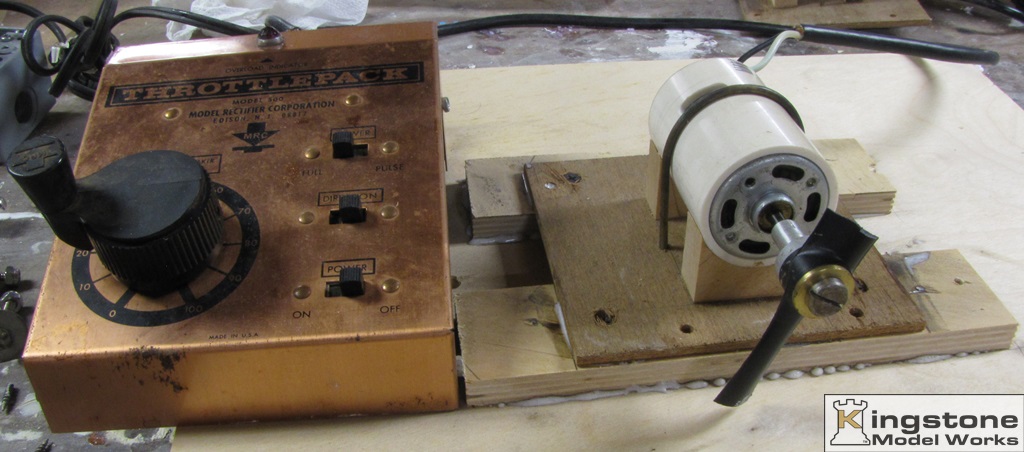
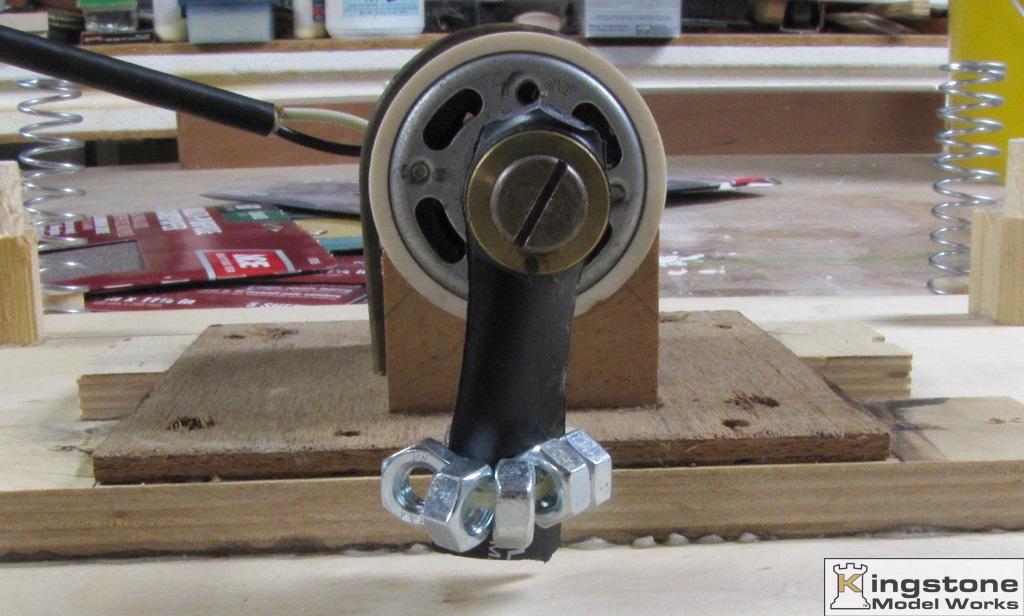
And the finished vibrating table. Works quite well except it doesn't vibrate enough. I'm going to have to add more weight to one side of the abused prop to give it a bit more vibration or make something on the lathe.
I increased the weight on the one side of the prop by adding 3 more nuts and cut off the remaining part of the prop on the opposite side. There is a lot more action now.
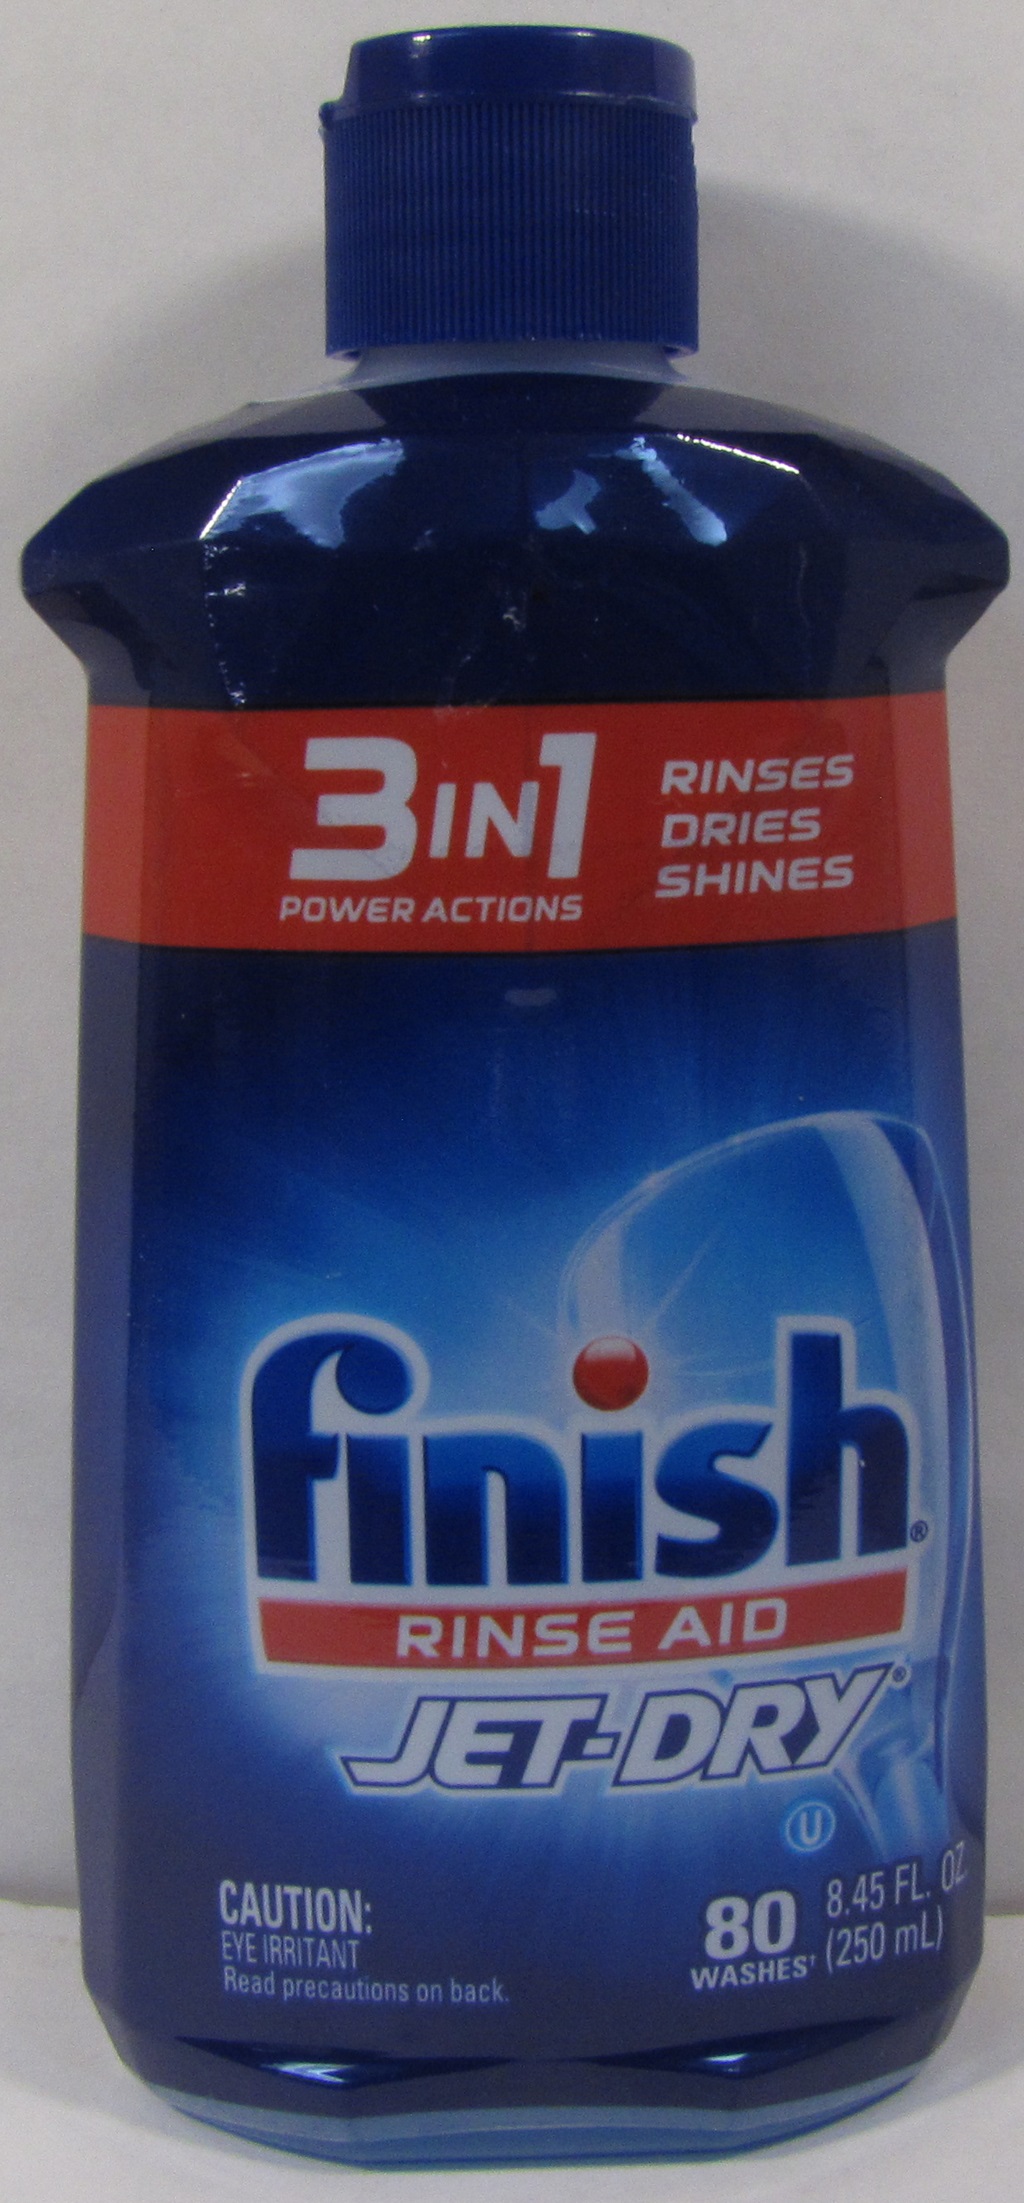
I am also using a product mentioned in one of the video’s I post by Bruce Hirst in his casting videos. He used a dishwater rinse product in a water mix that he sprayed into the mold to help shed the bubble off the mold. Works pretty good.
Here's a comparison with what I was getting before I made the vibrating table and last part I cast last night.
Before:
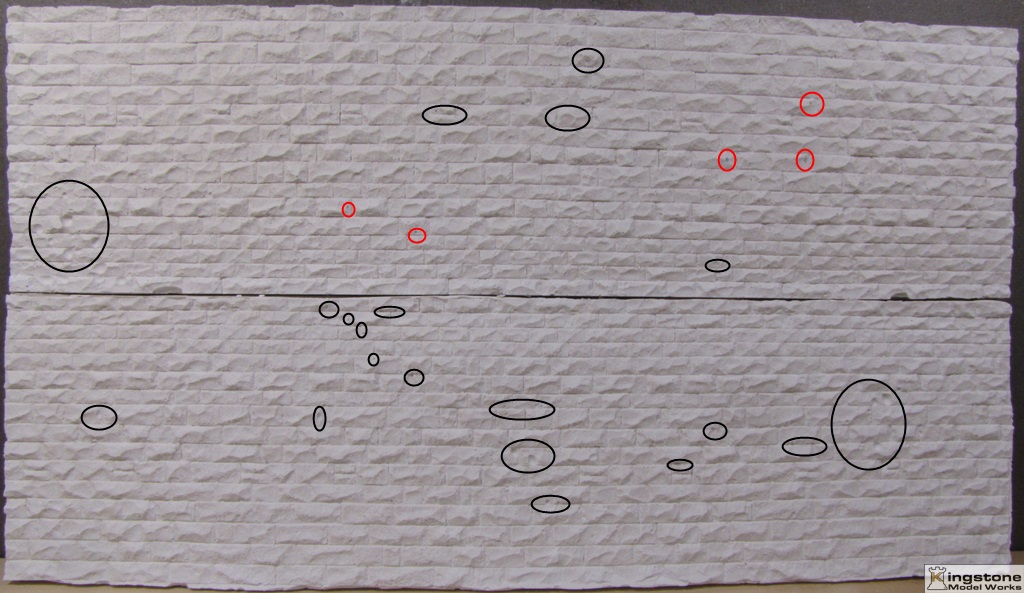
Last night:
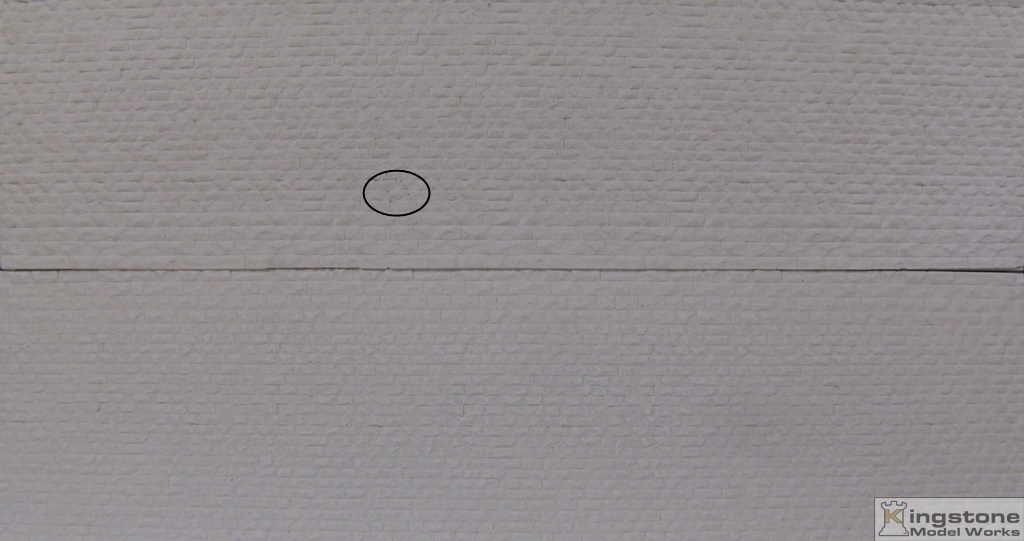
Take note that the blocks on this wall is the smaller block wall version. The dimensions are the same in length and width as the large block stone castings.
So that just about wraps it up for this project. I’m going to take a break here for now. Next will be the building of the master pattern for the roundhouse walls. This will take some time. If there’s interest in this part of the project I’ll post updates as I work on the pattern.
Bernd