Multiple methods for multiple results
I will use different methods of fading depending on the prototype I am modeling from. As mentioned by Prof and Joe, Jeremy's oil paint drybrush fade works well and can give excellent results. I haven't used it as much as other methods because not all my cars/locomotives will require a fade with white.
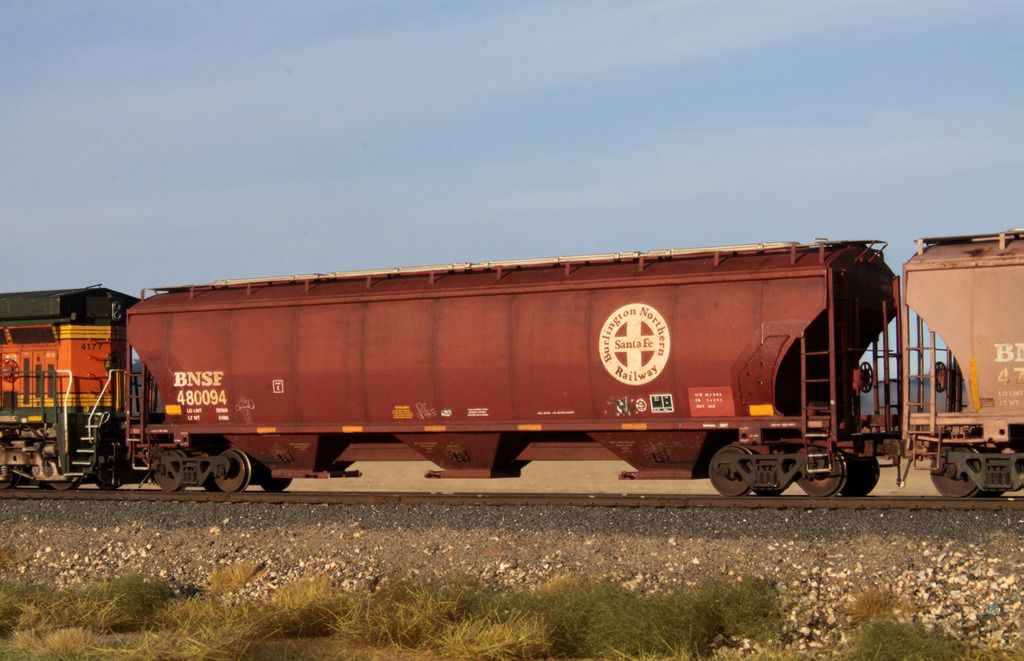
On some projects the prototype shows a rather even level of fading across several different colors. For these types of projects I will lean towards an airbrush fade. I will make a mix of several colors of craft acrylics: sky gray (2-3 drops), charcoal gray (1 drop), raw umber (1 drop), and sometimes a color similar to the car I am weathering (terra cotta for mineral red/brown, light blue for blue, etc). Mix these up, add some Windex to the consistency of skim milk, and shoot through the airbrush at ~30 PSI. It is ESSENTIAL to go extremely light on the paint!! It is very easy to overdo it. You want to apply it so barely any mist is leaving the airbrush.....you almost should not see any perceptible change on the car. Within a second or two it will dry and you will see the fade better. If it's not to your liking, do another VERY LIGHT layer. If you go to heavy you "frost" the car and there is very little that can be done at that point. I use this technique maybe 25% of the time. However, it is only the very beginning step of weathering....most of it will get covered up with subsequent steps. Here are a couple projects that started off with a light airbrush fade:
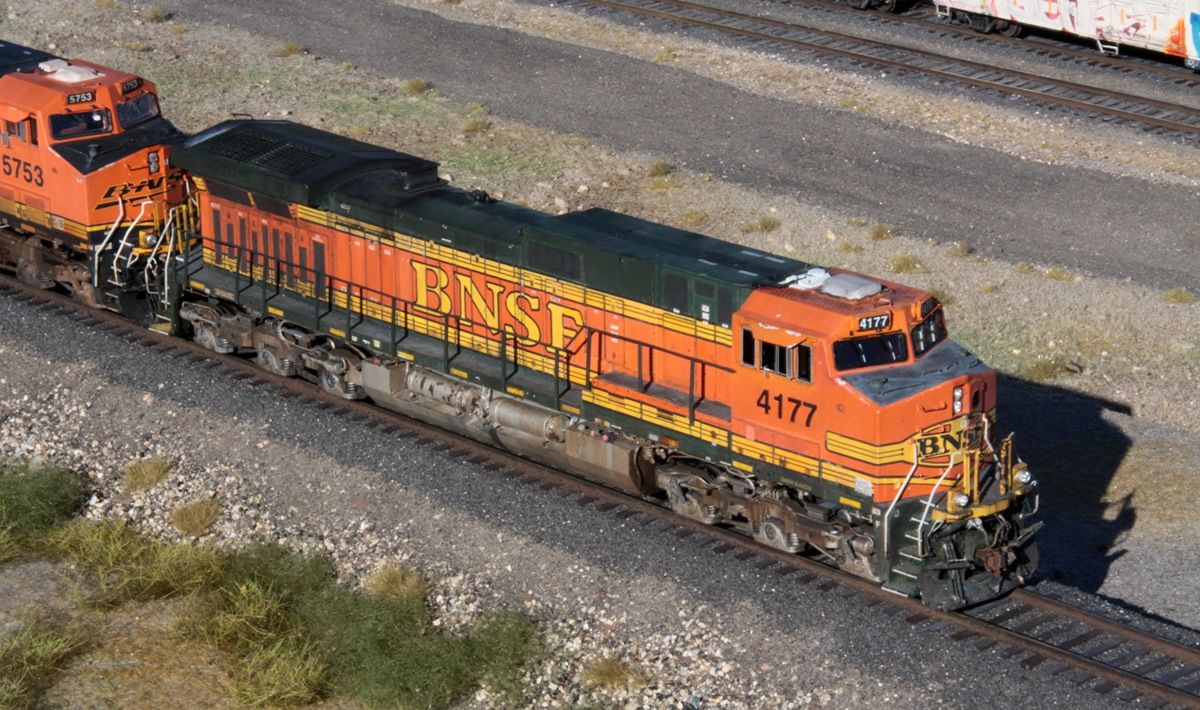
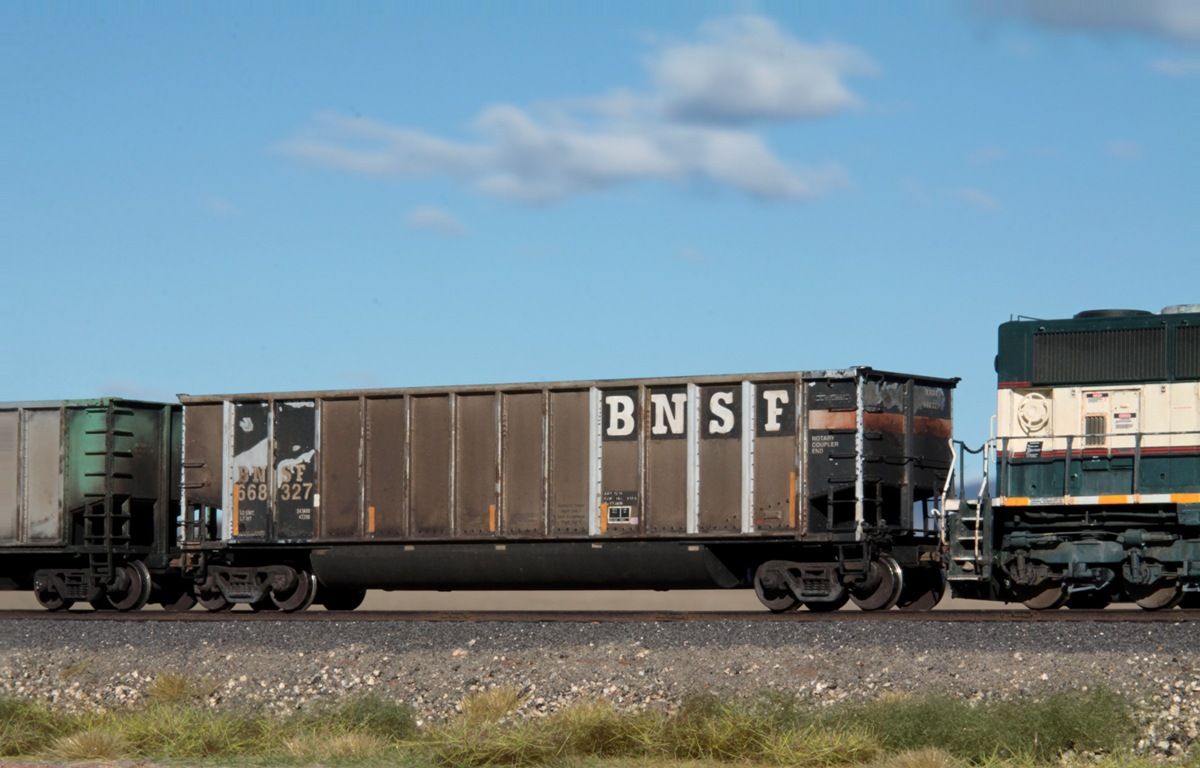
The technique I use the most has been championed by Gary Christensen, the "color transition fade": http://www.theweatheringshop.com/articlegcolor.html. Read it through and follow it! With a little practice, this method can be used in most weathering projects with excellent results. You are able to control the exact color of the fade with this technique. Not all cars/locomotives fade to white. And with today's RTR market, you may not be able to arrive at the correct faded color by just using white or an airbrush. Hence the color transition fade is an effective and easy way to solve that problem. Time consuming? Yes, it can be. Tedious? More so than an airbrush fade. But the results are well worth the effort in my opinion. Follow Gary's tutorial and experiment. Once I figured out how it worked best in my hands I have used it for most of my projects. In fact, I will still use it even if I did an airbrush fade....the airbrush will leave things too even, and a quick adjustment with color transitions will solve it. This project was done using only color transition fades...the green faded differently than the white, which was different from the red stripes:
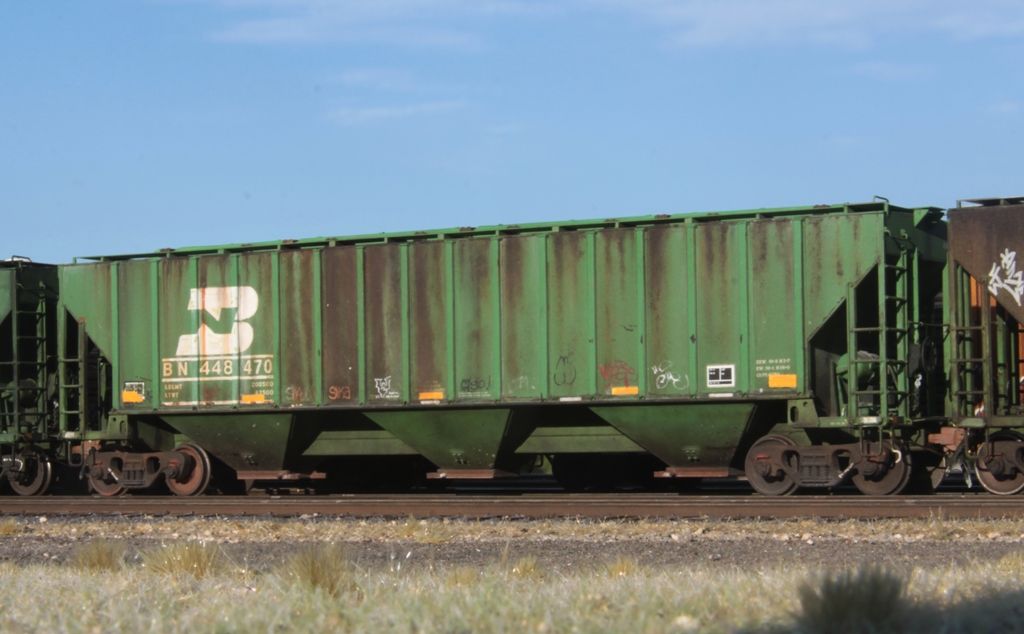
This was also done with the color transition.....the original Athearn paint was far from the actual color I was trying to achieve so the only way to correct it was to do the color transition:
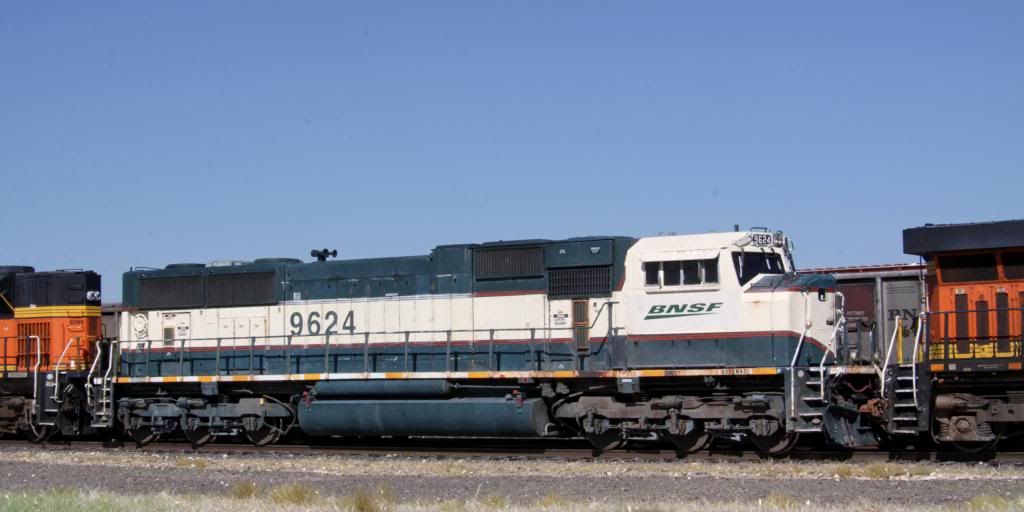
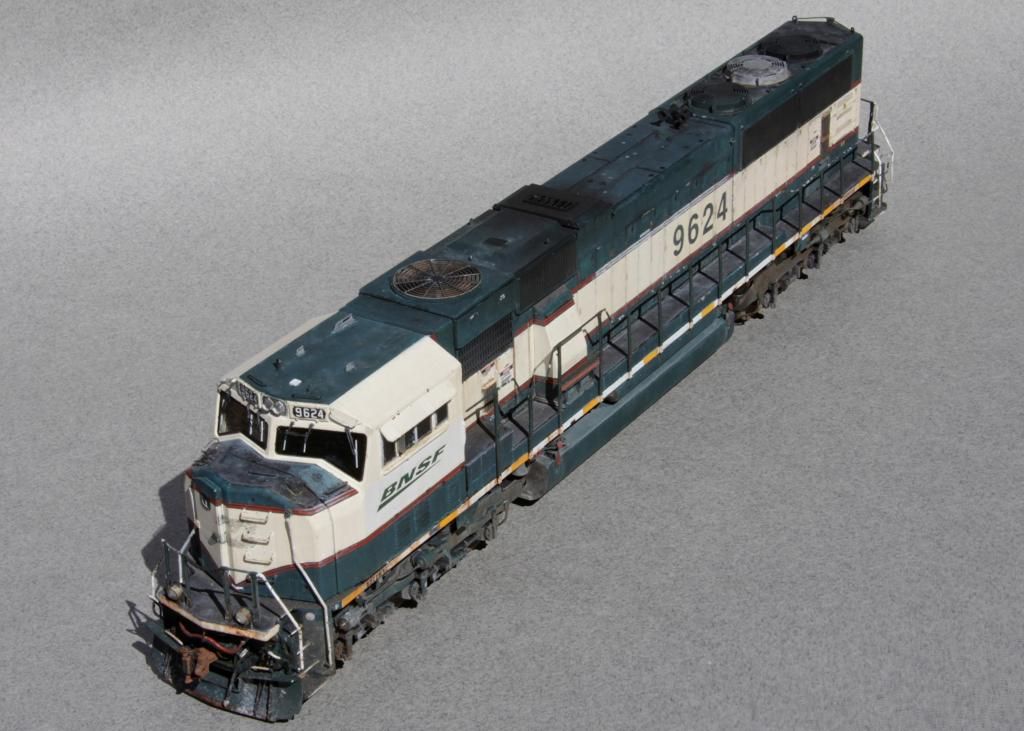
The other thing that is nice about color transition is that you can go darker rather than lighter, as in this case:
Bottom line is that I find the color transition technique to be the most versatile. I do use the other techniques but not nearly as much as I do the color transition. Which one I use depends on the prototype and the end-goal...every project is different.
-Kevin